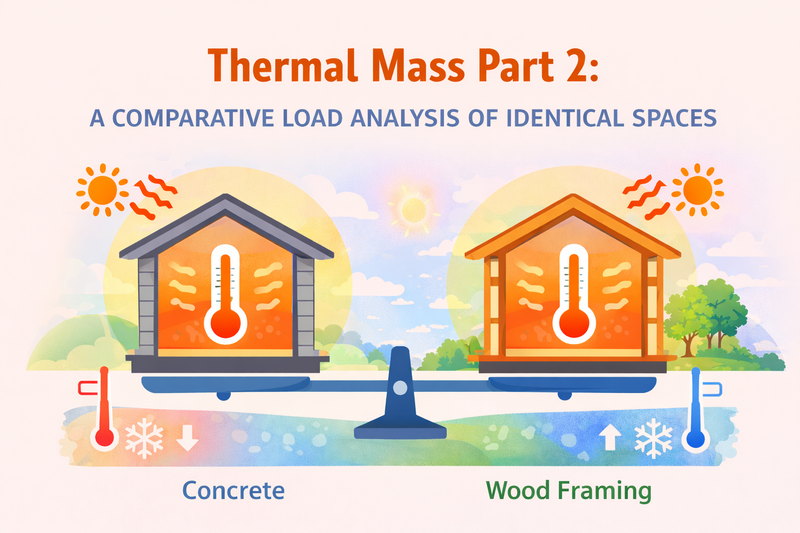
In the previous post, we discussed what thermal mass is and why modern cooling load methodologies account for it. This follow-up moves from theory into application by examining two modeled spaces that were identical in every respect except for thermal mass—both in the building structure and interior contents.
The goal was not to rediscover first principles, but to quantify how much thermal mass actually alters cooling load behaviour, peak demand, and equipment sizing decisions when using time-dependent calculation methods.
Two enclosed, single-zone spaces were analyzed in HeatWise. The intent was to isolate thermal mass as the sole variable.
| Space | Construction Weight | Carpet | Wall Weight [lb/ft2] | Roof Weight [lb/ft2] |
|---|---|---|---|---|
| Light space | Light | No | 10 | 7 |
| Heavy space | Heavy | Yes | 83 | 63 |
No changes were made to insulation R-values or U-factors—only material density, heat capacity, and exposed mass were altered.
This configuration is representative of many modern commercial interiors where structural mass is isolated from the conditioned space.
The envelope thermal resistance was unchanged, but significantly more mass was directly coupled to the zone air and radiant field.
Both spaces had 10 occupants, 0.9 W/ft2 of lighting, and typical light density office equipment. Equipment, lights, and people were assumed to be in the space from 9-5, but not during the evening or over night.
Despite identical instantaneous heat gains, the low-mass space exhibited a higher peak sensible cooling load, occurring shortly after peak solar and internal gains.
The high-mass space demonstrated:
This aligns with the fundamental behavior of thermal mass: radiant and convective gains are absorbed by the structure and furnishings, delaying their conversion to air load.
The table below is a summary of peak cooling loads for each space:
| Space | Peak sensible load [Btu/h] | Peak latent load [Btu/h] | Time of peak load |
|---|---|---|---|
| Light Space | 19,884 | 2,000 | September, 3pm |
| Heavy Space | 15,324 | 2,000 | July, 4pm |
The graphs below show the difference in overall profile in the loads experienced between each space:
This example illustrates two important points for equipment sizing and energy analysis:
To properly understand total energy spent on cooling, you would need to add up the bar sizes under each hour in these plots. Doing this would yield the following results:
While the Light Space has a higher peak load, requiring larger equipment - and therefore higher CapEx - the Heavy Space requires more total cooling energy - higher OpEx.